Introduction
The Text & Image tile allows you to add context, structure, and visual elements to your dashboard. Whether you are looking to highlight key sections, explain other widgets, or include branding, this tile helps create a more informative and user-friendly experience.
Permissions
See Using RBAC for more information.
Features
Following is a list of features of the Text & Image tile:
- Embed rich text with formatting (bold, lists, links, etc.)
- Add images using direct image URLs
- Use as a header to label or title dashboard sections
- Act as a section separator for visual clarity
- Describe or annotate other tiles or dashboard elements
- Display branding (logos, banners, team names)
Benefits
Following are the benefits of using the Text & Image tile:
- Enhances readability and visual structure
- Makes dashboards more user-friendly and informative
- Helps with contextual explanations for data tiles
- Provides a professional look with custom branding
- Allows easy navigation and segmentation of complex dashboards
Create a Text & Image
Follow these steps to create a Text & Image tile:
From Dashboard → Dashboard 2.0, create a new dashboard or select from an existing dashboard collection.
See Create Dashboards to learn about creating dashboards.
Click CREATE TILE or + from the toolbar.
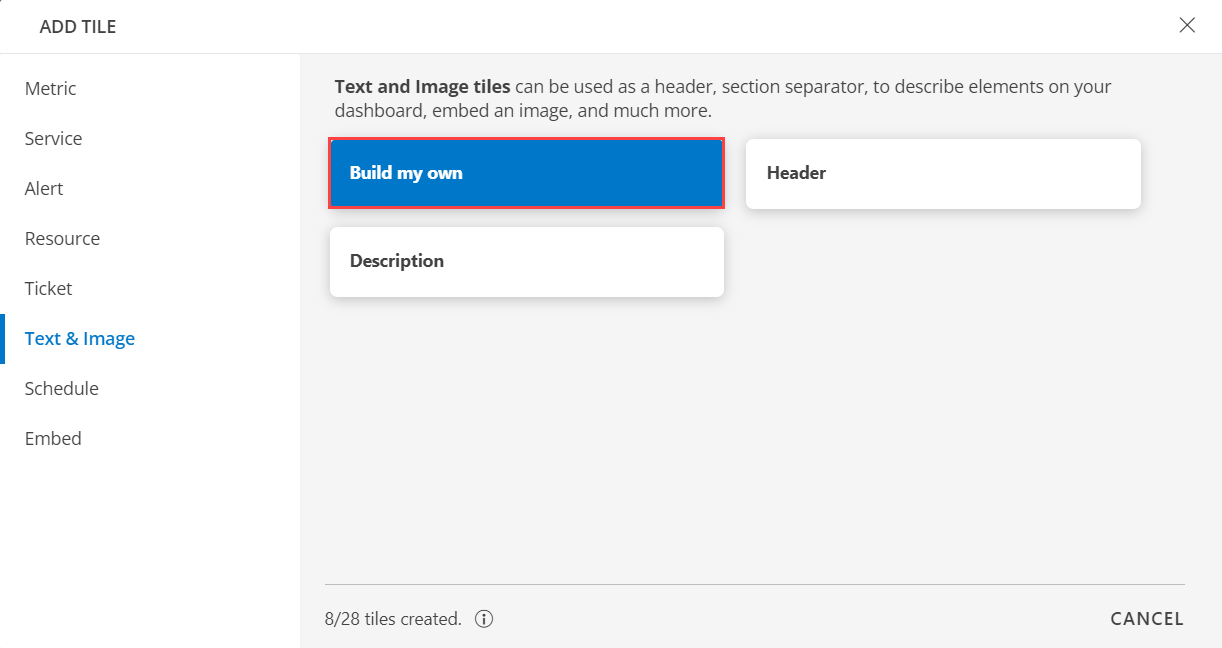
In the ADD TILE screen that is displayed, select Text & Image.
The following screen is displayed:
Select one of the following:
| Tile Option | Functionality |
|---|---|
| Build my own | This is used as a header, section separator, to describe elements on your dashboard, embed an image, and much more. |
| Header | Add a header. |
| Description | Add a description. |
Build My Own
Click here to view how to Build Your Own Query
- Select the Build my own tab. This enables you to create a custom tile.
- Enter your text in the space provided.

- You can customize your text using the customization toolbar:
| Customization Toolbar | Description |
|---|---|
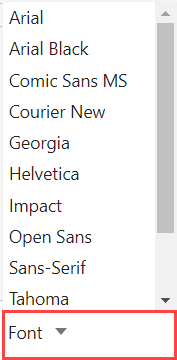 | Select the Font drop-down listbox to view the different fonts. |
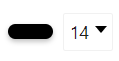 | Choose the color and size of the Text. |
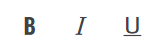 | Select Bold, Italic, and Underline. |
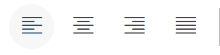 | Choose either Left-align, Centered-align, Right-align, or Justified text. |
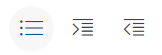 | Bulleted list. |
 |
Open in new tab checkbox is selected. This ensures the specified URL opens in a separate browser tab. |
 | The Insert Image icon allows you to insert images by either uploading a file or linking an image URL. You can add alternative text for accessibility and set custom dimensions for the image if required. Once ready, the image can be placed directly into the content. To upload an Image:
|
See VISUALIZATION to know on how to customize the Text & Image Tile.
Click ADD TILE.
Header
Click here to view how to add a Header.
- Select the Header tab.

The ADD TEXT & IMAGE TILE window is displayed.
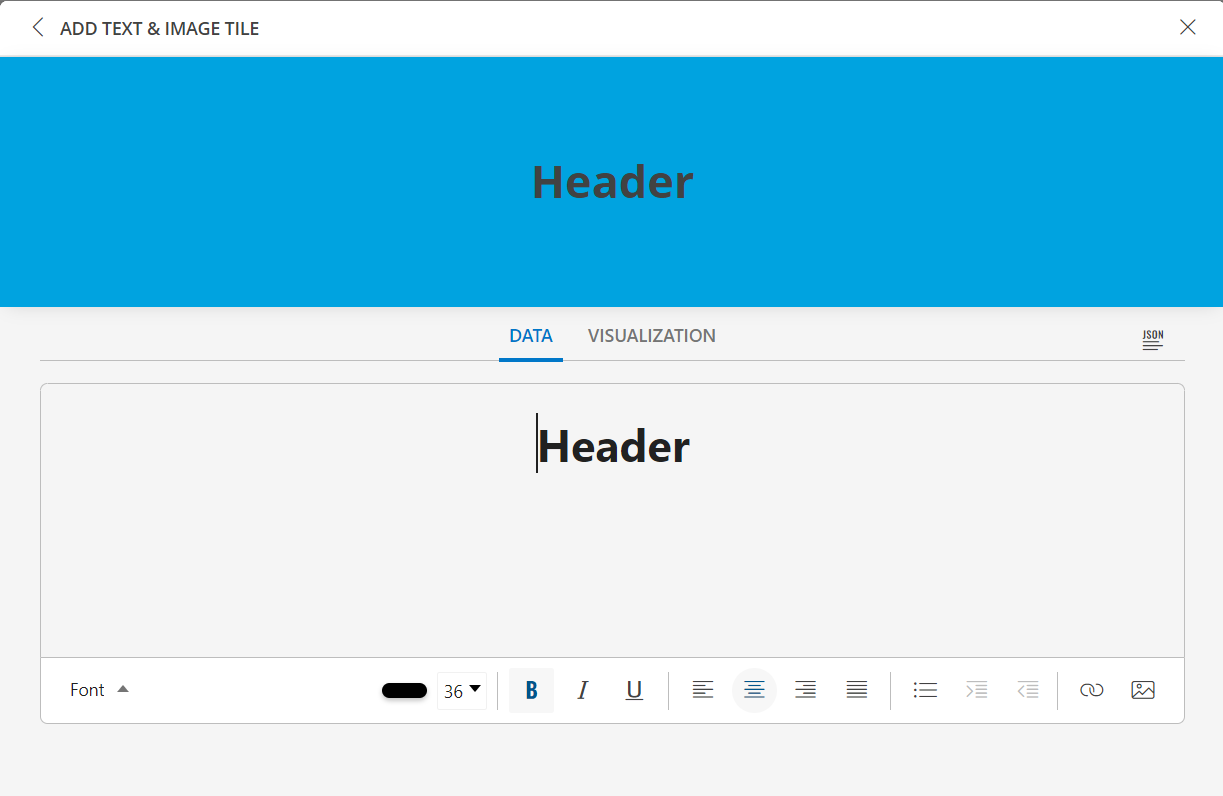
Enter the header in the space provided.
Note: By default the font is set to 36.You can customize your text using the below customization toolbar:
| Customization Toolbar | Description |
|---|---|
| Select the Font drop-down listbox to view the different fonts. |
| Choose the color and size of the Text. |
| Select Bold, Italic, and Underline. |
| Choose either Left-align, Centered-align, Right-align, or Justified text. |
| Bulleted list. |
|
Open in new tab checkbox is selected. This ensures the specified URL opens in a separate browser tab. |
| The Insert Image icon allows you to insert images by either uploading a file or linking an image URL. You can add alternative text for accessibility and set custom dimensions for the image if required. Once ready, the image can be placed directly into the content. To upload an Image:
|
See VISUALIZATION to know on how to customize the Text & Image Tile.
Click Add Tile.
Description
Click here to view how to add a Description
- Select the Description tab.

The ADD TEXT & IMAGE TILE window is displayed.
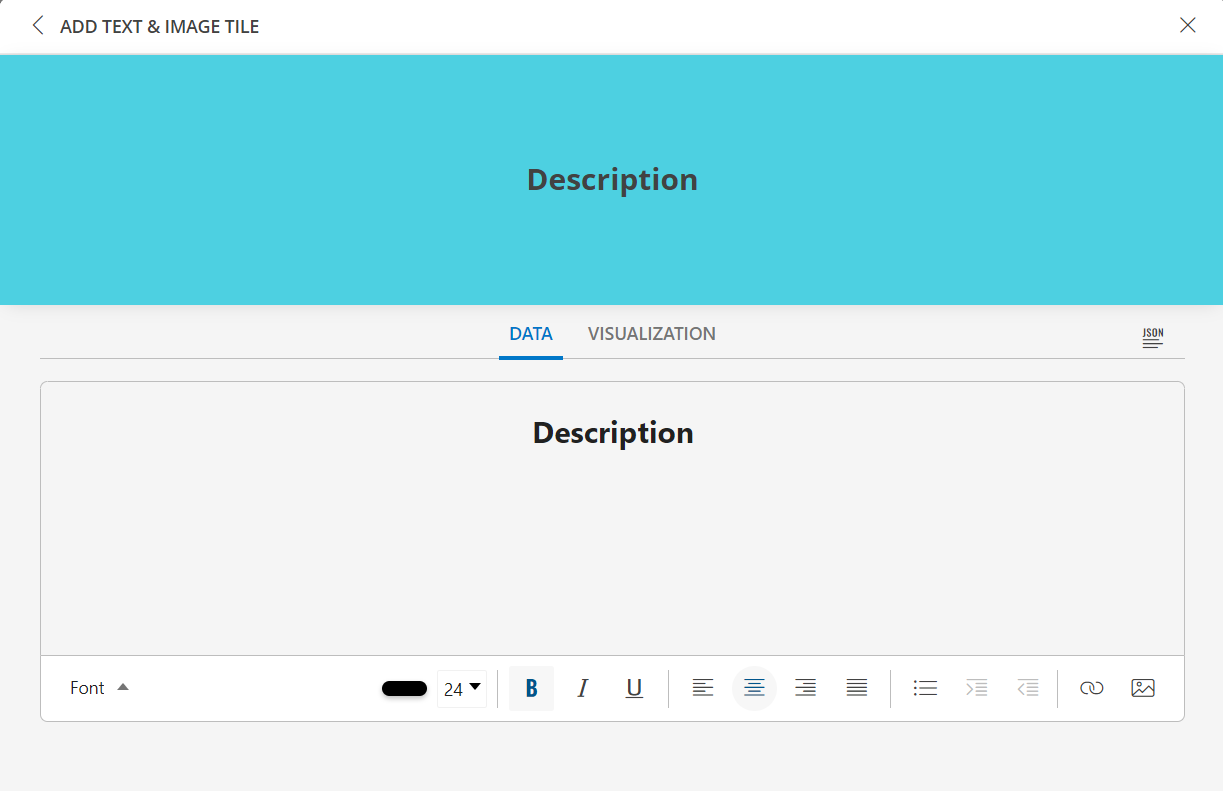
Enter your description in the space provided.
Note: By default the font is set to 24.You can customize your text using the below customization toolbar:
| Customization Toolbar | Description |
|---|---|
| Select the Font drop-down listbox to view the different fonts. |
| Choose the color and size of the Text. |
| Select Bold, Italic, and Underline. |
| Choose either Left-align, Centered-align, Right-align, or Justified text. |
| Bulleted list. |
|
Open in new tab checkbox is selected. This ensures the specified URL opens in a separate browser tab. |
| The Insert Image icon allows you to insert images by either uploading a file or linking an image URL. You can add alternative text for accessibility and set custom dimensions for the image if required. Once ready, the image can be placed directly into the content. To upload an Image:
|
See VISUALIZATION to know on how to customize the Text & Image Tile.
Click ADD TILE.
VISUALIZATION
- Click the VISUALIZATION tab to customize the visualization further:
- TILE
| Label Name | Description |
|---|---|
| Background Image |
|
| Background Color | Select the background color, enable or disable the background color by clicking the toggle ON or OFF background color. Note: By default the Background Color is disabled. |
Example
The following example demonstrates adding a text that will appear as hyperlink:
From Dashboard → Dashboard 2.0, create a new dashboard or select from an existing dashboard collection.
See Create Dashboards to learn about creating dashboards.
Click CREATE TILE or + from the toolbar.
Select the Build my own tab. This enables you to create a custom tile.

In the ADD TILE screen that is displayed, select Text & Image.
The following screen is displayed:
Click on Add a Hyperlink icon from the toolbar. The CREATE LINK popup is displayed.

Enter text in the Text to Display field:
- Current Time
Enter the URL: https://time.is
Click CREATE.
Click the VISUALIZATION tab to customize the visualization further:
Set the Background Image and Background Color as required.The link will be displayed in the window.
Click ADD TILE. The tile is added and displayed in the dashboard.

Click the Current Time link in the tile. The URL opens in a separate browser tab.